Tips And Tricks

Tips And Tricks is where you will find useful tutorials and guides that will provide information useful for anyone to know interested in the war gaming hobby.

Tips and Tricks Tutorials:

1. Light box


2. Paint stripping


1.
How to make a Light Box

Now why would you want to make a light box?

Well to get the best quality pictures everyone knows (or does now) that its all about lighting as much as having a good camera. Building a Light Box will enable you to get the perfect lighting you need when taking pictures of war gaming minis. Or taking pictures of any other smaller item
for that matter.
What your going to need:

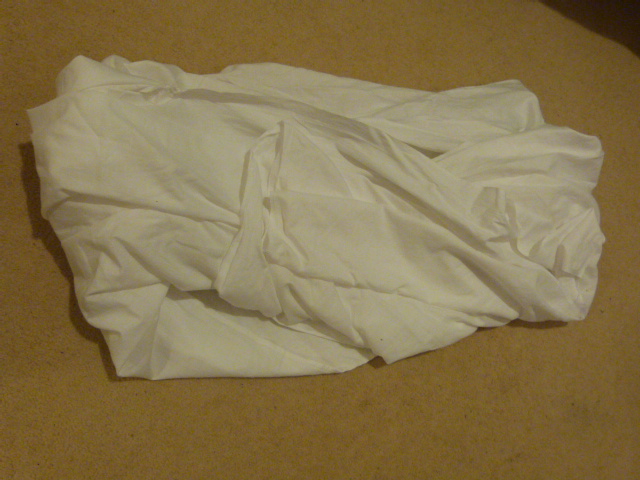
1. Some thin sheet or t-shirt, i have used an old unwanted white sheet for mine (though anything not too opaque and white will work)

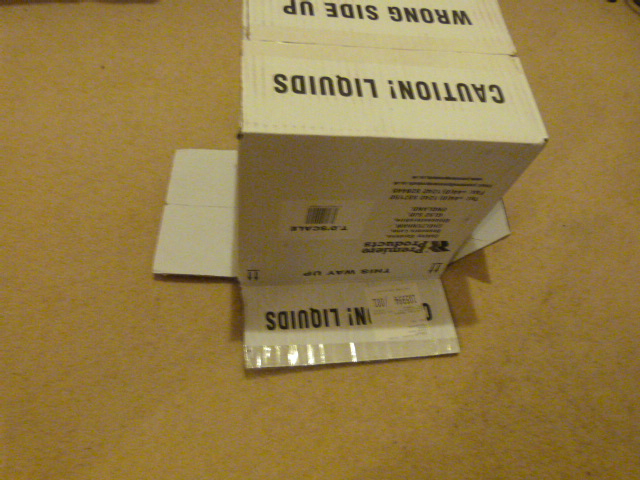
2. A box ( surprising !)

3. White paper

4. Clear sellotape

5. A craft knife

6. Scissors

7. Lights to light it up

What I'm using
Stage one:

Ok so first things first make sure you have a box that is at least 3 times the size of the largest thing you intend to take pictures of.

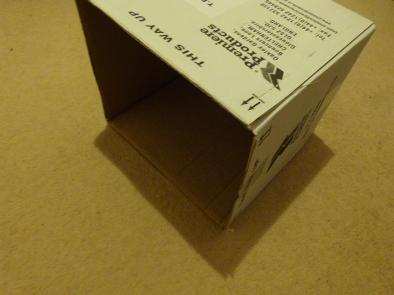
Now you have your box (i got this one for free as Tesco its worth asking around for them)  cut off the top flaps that were used to open the box normally.

 Box without flaps

Stage two:

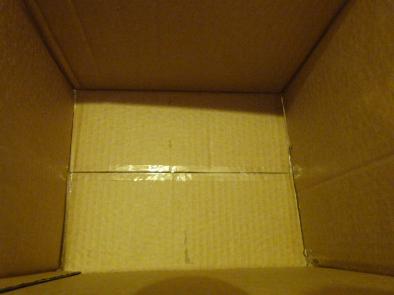
Now for an easy but essential stage, cut off any pieces of the box that prevent the bottom being flat. Now sellotape and weak points in the structure of the box.

The bottom of the box sellotaped for strength
Stage three:

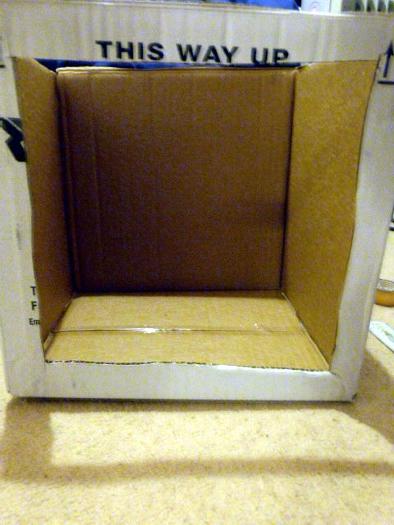
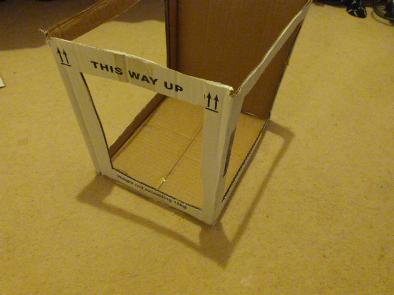
So now begins the cutting, Measure roughly 1-2 inches out from the corners of the box, mark it and begin cutting. Do this to all the sides but leave the back of the box and the floor.


It doesn't matter if your lines aren't exactly straight as long as you have enough room to attach your paper and white cloth to.
After taking the first side off the box
After cutting out the other two sides
Stage four:

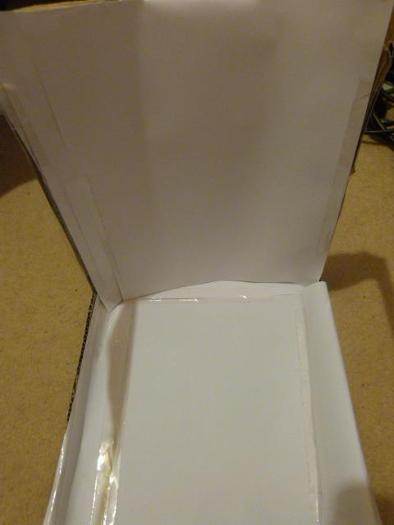
So now you've cut out all the sides of your box you can begin putting the paper on. Take your white paper and stick it to the bottom and the sides of the box, try to cover as much of the remaining box as possible as the paper will cover any dark patches of light and improve the overall quality of any picture taken.


If you don't have paper i'm sure anything opaque and white will do.
After Adding white paper
Stage five:

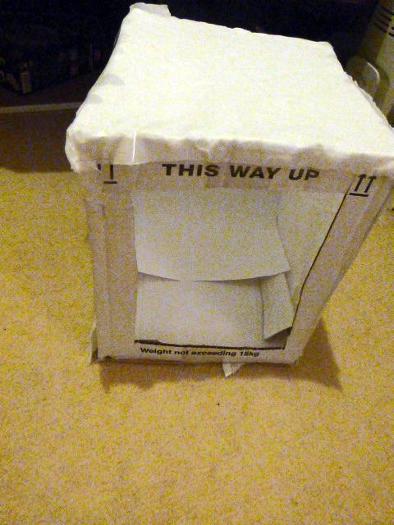
Now take your white sheet and put it against the holes in the sides and the top of your box. Cut out pieces of sheet that will cover each hole with enough extra sheet to allow you to stick it to the box. When you do this try to make sure your sheet is pulled taught so it does not create creases which can cause shadows and disturb the perfect lighting you are trying to achieve.

After adding the sheet to the sides and top of the box
How to use your light box:

Now to use your light box simply take a piece of plain white paper (or any other colour you would like as a background) and lay it at the bottom of the box. Do not fold it but let the paper curve to prevent any darkness in the background. Then simply place your figure where you would like in front of your background. My advice for backgrounds is to use lighter shades for darker miniatures and darker backgrounds for lighter mini's. Starting out on white is probably the easiest way.

To light the box all you need to do is put a lamp or light against the side or top. In the ideal world you would have a light on each side and the top. But some times this may not be possible. So i
f you only have one light i would advise putting it against the top of the box. Or if you have two, one on each side of the box tends to work best. The way to discover which works best for you is to experiment!

I also highly recommend using daylight bulbs for pictures (sometimes known as craft lights) The thing to look for is a blue bulb as all daylight bulbs are blue! They reproduce the look of natural light for the best colour.
And your done!

Time to try out your new light box!

I hope this tutorial has helped you, if it has you can let me know below.
For more comments head over to the Contact and Discuss section

If you liked this why not give me a like at the bottom of the main Artisans Workshop page.
2.

Paint stripping

So here we go, this tutorial is aimed at teaching you exactly how you can go about re painting all those old heavily painted mini's. From start to finish and exactly what you need to do.

What your going to need:

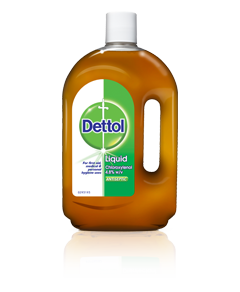
1. Dettol in the UK or Simple Green in the US or any other that comes in a bottle of BROWN liquid, make sure it is brown or it wont work!

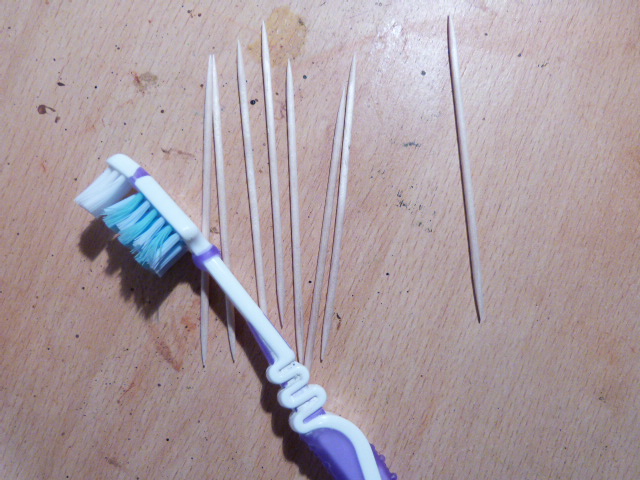
2. Scouring tools, i use an old toothbrush, nail brush and cocktail sticks for the details. But anything with bristles will work too. Nothing sharp as it will damage the model.


3. An old tub with a lid big enough to fit your models inside ( make sure it has a lid as this stuff doesn't smell too nice) and a second smaller tub.

4. Rubber gloves

5. Models to strip!

Your Disinfectant MUST be brown like this to work the same applies to Dettol!
What I'm using
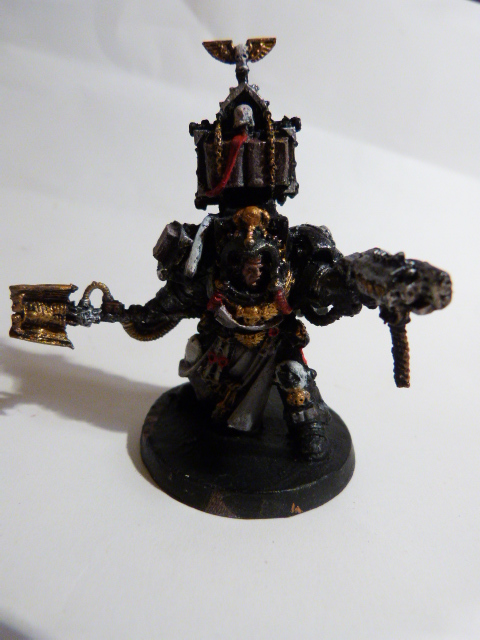
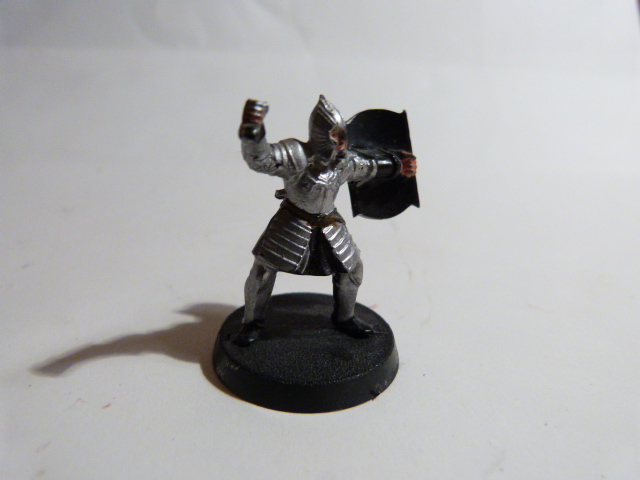
These two truly ancient old subjects are from my early painting days.

Stage one:

Ok first things first! Take the tub of your choice and pour enough disinfectant in to cover any models your going to be stripping.
Then close the lid securely, make sure its air tight so no liquid or smell can escape.

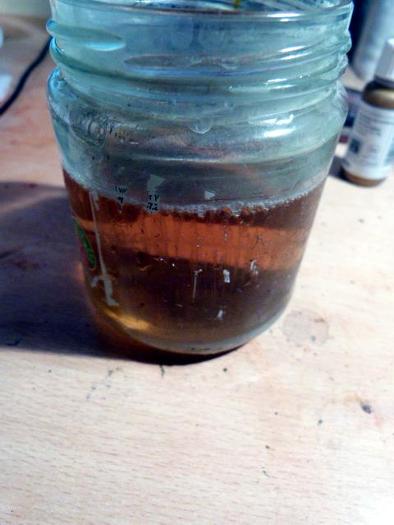
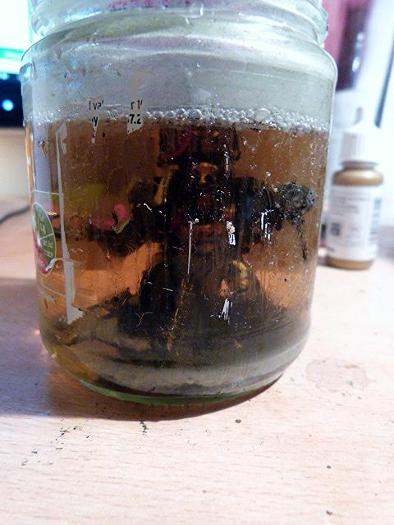
An old glass Jar with disinfectant in it
Don't drink this...

Stage Two:

Time to say your final farewells to those old paint jobs of yours and put your models into the liquid. Place them at the top of the disinfectant and they will float gently down to the bottom.

Before you do this you can, if you choose to, remove any pieces of the model you wish. This is useful for models that have a lot of parts with paint all over them that need stripping. Also i advise removing any scenic bases as the bits on the base as this will make your mixture get dirty quicker.
The cleaner you keep the liquid the more times you can re use it.

Add your minis to your mix
Clearly space marines can't swim...

Stage three:

Wait.......

Why not paint something in the meantime!

It can take any amount of time from 30 minutes to 4 hour for the paint to start to crinkle and expand on the model. When the paint on the model starts to look like this it means its ready for its first scrub down!

The longer you leave the models the more paint will be removed, though it is better to do it several times than leave them model in for days at a time. As when the paint in the first scrub is removed it lets the disinfectant get into the cracks and crevices in the model better the second time you soak it allowing you to remove paint from the deeper features of a model, such as a face or other fine details.

And Don't worry about putting in many models at a time this works just fine.

Also if you do leave a model for days it will not damage the model in any way even if left for weeks on end!


Paint paint paint!

Stage Four:

Time for a wash down!

You will want to wear your Rubber gloves as this gets very messy. Also i strongly advise working over a sink or somewhere you don't mind getting a bit dirty as the paint will cause a mess.

Now your model is ready for scrubbing, take it out of your mixture and start scrubbing away at it with your toothbrush or other bristled cleaning tool. DO NOT USE WATER as this will  leave a strange residue on the model and make it much harder to remove paint. Instead pour a small amount of disinfectant into another container and use this to rinse the model and your cleaning tools.

You don't need to brush hard to remove the paint, it will come away quite easily. Use your toothpick or other small non sharp tool to remove paint from any recesses.

If you find after scrubbing your model for so long that the paint is becoming more resistant simply rinse it off in your smaller container then put it back into your main disinfectant to soak again.

Repeat this process as many times as you like to get to where you want to be!

I generally soak my models at least 3 times to get them completely clean, though it may take more or less.


Stage Five:

Your nearly there, just one last step.

Once your happy with your model its time to remove the disinfectant from it. To do this simply fill a bowl or sink with warm soapy water (make sure your not going to loose any small parts in this process!) and put your Stripped model in.

Give it a moment for the soap and water to take effect, make sure the water is quite warm. Then take the model and give it a brush with a clean toothbrush to remove any residue of disinfectant from it.

You may have to do this several times as there will be a tacky residue left on the model, it just takes a bit of soaking in the water and a final bit of effort on your part.


Once your done, don't throw away your antiseptic liquid, you can re use this again and again even if its completely changed colour it will still work!


How my two models looked from start to finish

 To begin with

The Librarian before stripping
Man of Minas Tirith before stripping
The stripped model


And your done!

Your model is ready to paint!

Once your done, don't throw away your antiseptic liquid, you can re use it again and again even if its completely changed colour!

I hope this tutorial has helped you, if it has you can let me know below.


For more comments head over to the Contact and Discuss section

If you liked this why not give me a like at the bottom of the main Artisans Workshop page.


This free website was made using Yola.

No HTML skills required. Build your website in minutes.

Go to www.yola.com and sign up today!

Make a free website with Yola