The Basics

Here's where you will find all of my tutorials designed specifically for those of you just starting to discover the world of miniature war-gaming, painting and modelling.


Basic Tutorials

1. Wet pallets

1. How to make a wet pallet
Why use a wet pallet i hear you say? What are the benefits over a normal pallet?

Well, firstly when using a wet pallet your paint will dry very, very slowly. This is great when you have some paint mixed that you would like to use in future. It can be helpful when making your own paint mixes too as you don't need to keep adding water to the mix which changes the consistency of the paint and how it will go on the model, which gets extremely annoying! Also because of the extremely slow drying time it means you actually use less paint. Have you ever looked at your pallet after a paint session and thought "That's a lot of dry wasted paint". With a wet pallet that won't be a problem for you anymore.

Another great aspect of using a wet pallet over a normal one is that they are pretty much free, all you need to do is wet your paper towel every few days and it just keeps going and then replace the grease proof paper when you need to, or just give it a wash.

That's why I personally find a wet pallet so superior to a normal one.

Give it a try I bet you'll LOVE it!

What you're going to need:

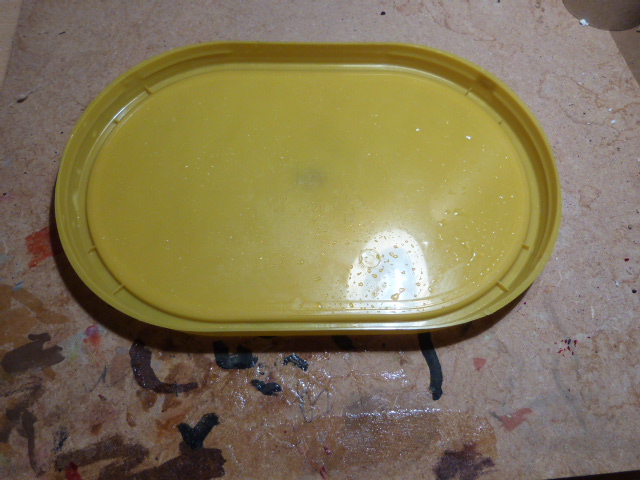
1. The lid of a container, an ice cream box or something similar (take away boxes work well too) make sure it has a lip (small sides)
2. Some paper towel (or any absorbent paper material)
3. Grease proof paper
4. Access to water
5. Scissors

Stage one:

Well, I hope you enjoyed your ice cream and have a lid ready and waiting. It is worth noting also that having a lip on the lid is extremely important as it prevents liquid from escaping the sides, you don't need a huge lip but it helps greatly (you can also rest your brush nicely on the side too).

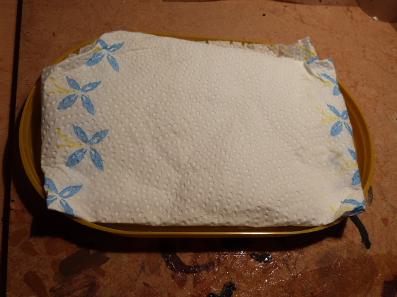
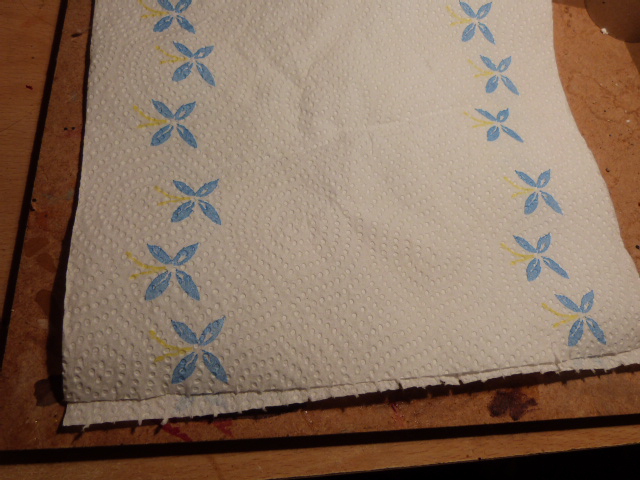
Now take your paper towel and fold it into the center of the lid. make sure it is at least two layers thick to hold plenty of liquid.


What I'm using

        I think you know what water and              scissors look like!      


The paper towel folded into the sides of the lid just tuck in the edges.

Stage Two:

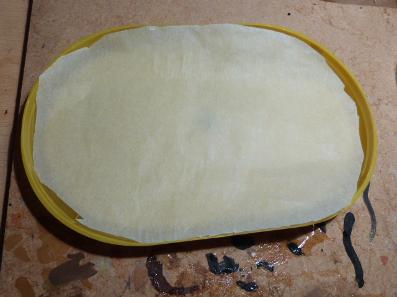
Very simply press your grease proof paper against your lid and cut it so it will fit inside the lid, don't worry about being too precise. This is what your paint will sit on.

 Grease proof paper cut to fit inside the lid

Stage Three:

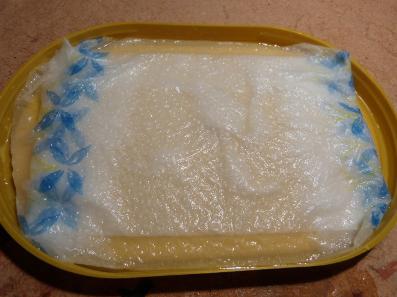
Now you've got everything ready to put together. Take your paper towel and put it inside the lid. Next take some water and pour it into the lid until the towel is fully damp. Its surprising just how much water is actually absorbed by the paper. The amount of water your choose to add is up to you, generally you want enough so the towel is fully wet but there's not huge pools of water everywhere as this may seep into your paint later on.
Paper towel inside the lid with enough water to make it wet
Stage Four:

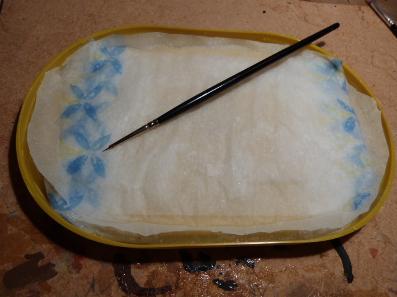
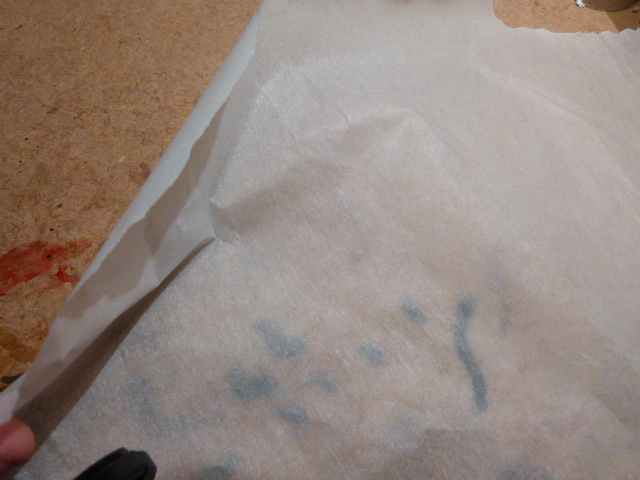
Now simply take your grease proof paper and place it on the top of your now damp paper towel, you will want to push it down onto the towel to make sure it sticks. Once you've done this your pallet is complete! Just use it like you would a normal pallet with your paint on the grease proof paper.

A finished wet pallet
And your done!

Time to get painting and try out your new pallet!

I hope this tutorial has helped you, if it has you can let me know below.
For more comments head over to the Contact and Discuss section

If you liked this why not give me a like at the bottom of the main Artisans Workshop page.

This free website was made using Yola.

No HTML skills required. Build your website in minutes.

Go to www.yola.com and sign up today!

Make a free website with Yola